
Do you want to deliver presentations, share tutorials, or teach complex applications in your online course? If so, creating screencasts may be a great option for you. This piece defines what a screencast is, identifies important development considerations and common instructional use cases, and highlights best practices for creating screencasts for your online course.
What Is a Screencast?
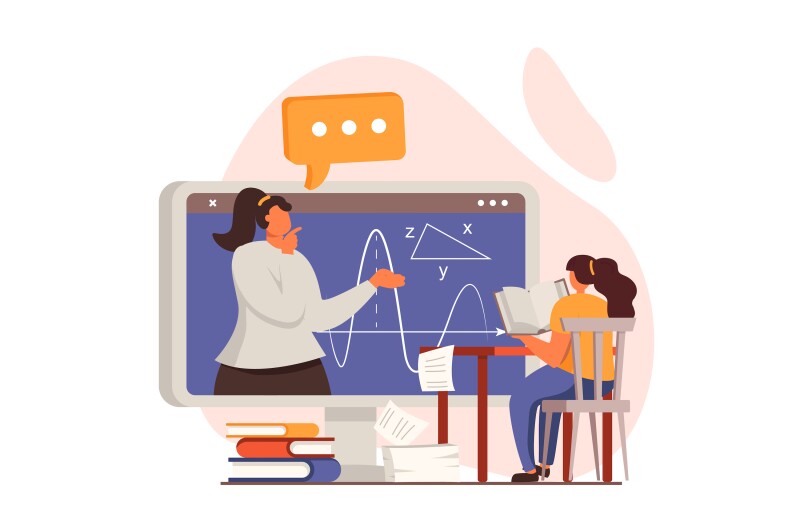
A screencast is a video recording that captures your computer screen, also referred to as a video screen capture or a screen recording. This type of video often contains audio narration to accompany text and images presented on your computer screen (Kılıçkaya, 2016). Additionally, background music, video transitions, and zoom-ins/zoom-outs can be added to enhance your video and increase learner engagement.
Screencasts are distinct from other types of videos (e.g., interviews, vlogs) in that the speaker is not the focal point of the recorded footage. Often, footage of the speaker is excluded altogether from a screencast so that viewers can focus on the content being shared on the speaker’s screen. To learn more about other types of videos and recommendations for different types of video outputs, see the Envision piece Matching Video Production Style to Learning Goals.
Should I Create a Screencast?
Screencast videos are great for demonstrating detailed processes. Rather than trying to explain a complex process with words alone, you can create a screencast that walks your learners through that process step by step. This can potentially minimize learner confusion and reduce the number of questions you will receive about a process. While screencasts can add significant value to courses that include such content, they are not suitable for all types of instructional material. Content that changes frequently, for example, is often better suited to text-based presentations that can be edited easily.
Creating a quality screencast will also require a significant time investment. You will need to create a script, prepare your materials, and practice what you will present on the screen. Additionally, you will need to consider accessibility factors such as confirming content has sufficient color contrast, ensuring you are zoomed in on the content you display in your recording so it is easy to read, and providing captions for your audio-narrated content (Bureau of Internet Accessibility, 2023). To learn more about accessibility, see the Envision piece Accessibility Resources.
Use Cases for Screencasts
Delivering Narrated Presentations
You can record a presentation along with audio narration. Narrated presentations give learners an opportunity to hear from you while reviewing the content on the screen. Record chunked lectures or break up longer lectures into smaller segments for your learners to view at their own pace. To learn how to record a slide presentation, see the Envision post Using PowerPoint in a Video.
Sharing Screen Tutorials
You may be using software or applications in your course that you want your learners to use as well. You can create a tutorial on how to use a specific tool or demonstrate how learners can access a course resource. Tutorials allow learners to view processes directly and follow along with you to complete tasks.
Explaining Complex Topics
If you have topics that are hard to explain through images, audio, or text alone, then creating a screencast is a good option. You can expand on these complex topics by sharing your screen and providing detailed audio narration simultaneously. If your course includes complex math problems, for example, you can share your screen and walk your learners through solving a sample problem. You can also review complex diagrams or data, highlighting key features of the content or important considerations for learners. By reviewing complex content in a screencast, you can connect with your learners and provide more in-depth instruction on your course topics.
Providing Feedback to Learners
In addition to presenting instructional content, screencasts are also a great way to provide feedback to your learners. You can share your screen while reviewing their work and offer comments and suggestions. Providing feedback through a screencast allows learners to hear from you directly and can be a welcome alternative to written feedback.
How Do I Create a Screencast?
Plan
- Create an outline and script. You will want to outline your key talking points and steps for your video. Once you know what you want to cover, then you will want to create a script for your narration. Learners respond positively to well-planned videos with clear instructions and objectives.
- Choose what you will display on your screen. Identify the resources you want to share in your video. It is important to select what you want to display on your screen during your recording ahead of time as learners may become disoriented if you switch from screen to screen without a clear reason.
- Prepare your materials. Prior to recording, prepare any images, documents, or other needed files. Save these resources in a folder on your desktop for easy access and bookmark any web pages. This will make for a smoother recording experience and ultimately a more positive viewing experience for your learners.
- Choose a screen recording software. Choose a video recording tool (e.g., QuickTime, Panopto, Camtasia, Zoom, Adobe Presenter, etc.). Set aside time to learn the software before you record.
- Prepare your screen recording environment. Make sure your recording space is clean and uncluttered. Organize the files and folders on your desktop, close online tabs that will not used in your recording, and turn off notifications on your screen.
- Practice! Review your outline and script and confirm your key talking points. Practice 1–3 times before you record. This will give you an opportunity to test out your video to see if you need to make any changes and confirm if you’re missing any key information in your video before recording.
Record
- Enlarge your content. While recording, we recommend strategically adjusting the sizing of your screen display. Rather than displaying your entire screen, zoom in so that learners can see what you specifically want them to focus on. This can be especially valuable for learners with visual impairments.
- Move your mouse carefully. Hover over the content you want learners to pay attention to. Avoid moving your cursor around frequently or rapidly. This can distract learners and hinder comprehension. Move your cursor slowly and, when possible, take your hand off your mouse or trackpad to avoid extraneous movement.
- Be intentional with your audio narration. When narrating your videos, carefully consider the words you use and how you are describing what is on screen. Ensure that learners who may have learning disabilities, vision impairments, or language barriers can follow along based on your verbal instructions. For more on this topic, see the Envision piece Audio and Narration Best Practices.
- Consider editing capabilities. When recording, account for the editing capabilities that will be available to you after recording. For example, if you can edit your video, you can remove errors, long pauses, and unneeded retakes. If not, you’ll want to ensure that you record one clean take of the entire video.
Conclusion
Screencasts are a great option for delivering presentations, sharing tutorials, explaining complex topics, and providing feedback to your learners. Creating screencasts requires planning and preparation of on-screen materials and can take significant time. However, these types of videos can be powerful resources for your learners.
References
Bureau of Internet Accessibility. (2023). Video accessibility checklist.
Kılıçkaya, F. (2016). Use of screencasting for delivering lectures and providing feedback in educational contexts: Issues and implications. In M. Marczak & J. Krajka (Eds.), CALL for openness (pp. 73–90). Peter Lang.