

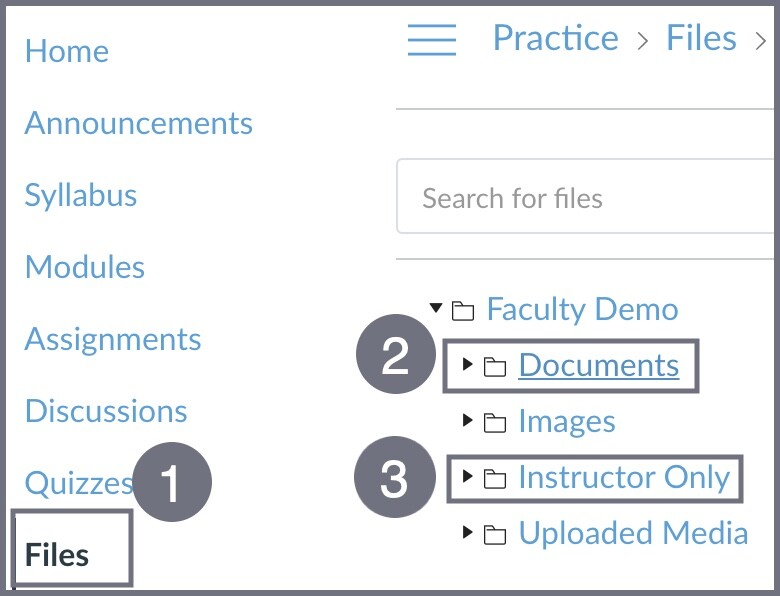
Over time, you may want to make changes to the syllabus of a course. The syllabus documents are saved in the “Files” area (1) of the course. To preserve the integrity of the document, the Word document is located in the “Instructor Only” folder (3), and the PDF is found in the “Documents” folder (2) so it is visible to students.
It is important to note that changing the name of a file will break any links. To avoid having to re-link files, it is recommended that you maintain the original name for the most current version of the file. This is especially important for the PDF of the syllabus so that students don’t accidentally view an outdated version.
Steps
Step 1
Download the Word file. Click on “Files” (1) in the left-hand navigation. You will find the syllabus document in the “Instructor Only” folder (3).
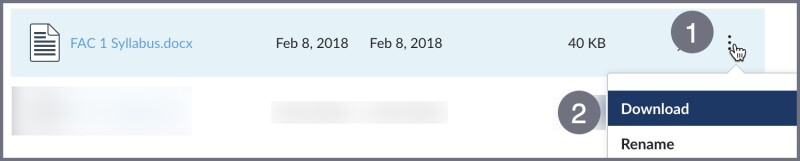
To download the file, move your mouse across the file name and click on the three dots that appear on the right-hand side (1). This will display a dropdown menu. Click “Download” (2).
Step 2
Make any necessary edits by opening the Word file on your computer to make the required changes.
Step 3
Save the original file as a Word file and as a PDF. Save your changes as both a Word file and as a PDF. Make sure you use the same name when you save, so the links in the course will work properly.
Step 4
Upload the revised files to the course. The new files will need to replace the previous versions. The Word document will be in the “Instructor Only” folder, and the PDF will be in the “Documents” folder. When you upload each version, you will be asked if you want to replace the existing Syllabus file. Click the option to replace the old version so that only the updated file will be seen by the students.
There are two ways to add a file from your computer: Upload or Drag/Drop.
To upload a file, click the “Upload” button in the upper right-hand corner of the “Files” section. You will then see your computer’s file dialog box. Select the correct file and click “Open.”

You can also drag and drop files. Simply drag them from the desktop or your file manager to the course, hovering over the list of file names. Once you see the icon with an arrow that points up, you can release the file and it will begin saving to the “Files” area.