
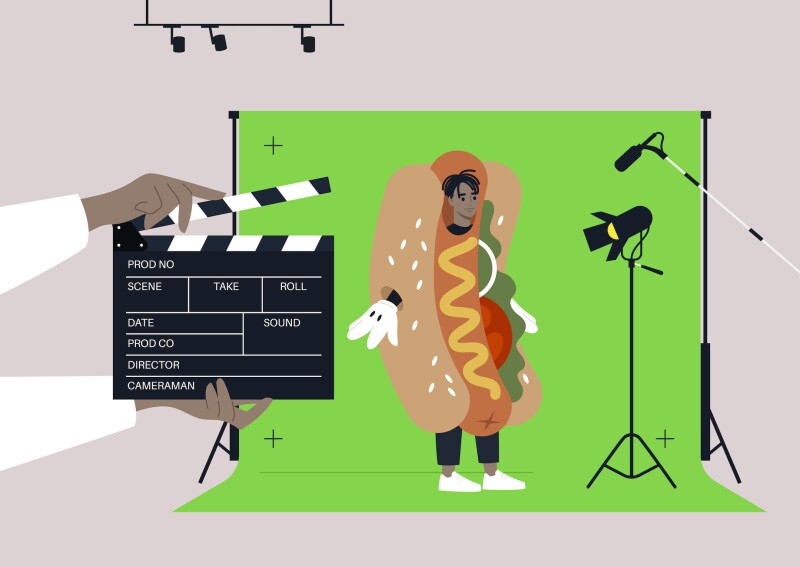
If you want to get high-quality, professional-looking green screen footage, you’ll have to do more than paint a wall green or place a pop-up screen behind you during your shoot. Use the recommendations below to set up a studio that is optimized for green screen video production.
Recommendations
Make sure your green screen is wrinkle-free and large enough to fit your body and movements within the frame. Your green screen or green screen fabric should be large enough to cover the area you will be filming in. At a minimum, it should be wider than your shoulders, but keep in mind how much you may move your arms when you talk, as you will want your screen to be large enough to fit those movements if necessary. You can use a portable pop-up screen or a larger permanent installation. Just ensure the green screen is smooth and free from wrinkles to avoid any shadows or unevenness in the footage.
Create an even light across the green screen. In general, there should be two key (main source of light) lights on the green screen, one on each side, set 3–4 feet in front of the green screen but saliently behind the subject. These lights ensure the green screen is lighted properly, and it is possible that you will need to adjust them to ensure even lighting on the screen: any shadows or uneven lighting can ruin the green screen effect. If you have a smaller studio, you may not have the room to space out the subjects, lights, and green screen to the extent we recommend. To achieve the best possible footage, just ensure that the key lights are sufficiently in front of the green screen so as not to form spotlights, and sufficiently behind the subject so as not to bounce light onto the subject. If you do not have access to mounted key lights, consider using two clamp lights to evenly light your screen.
Green Screen Studios
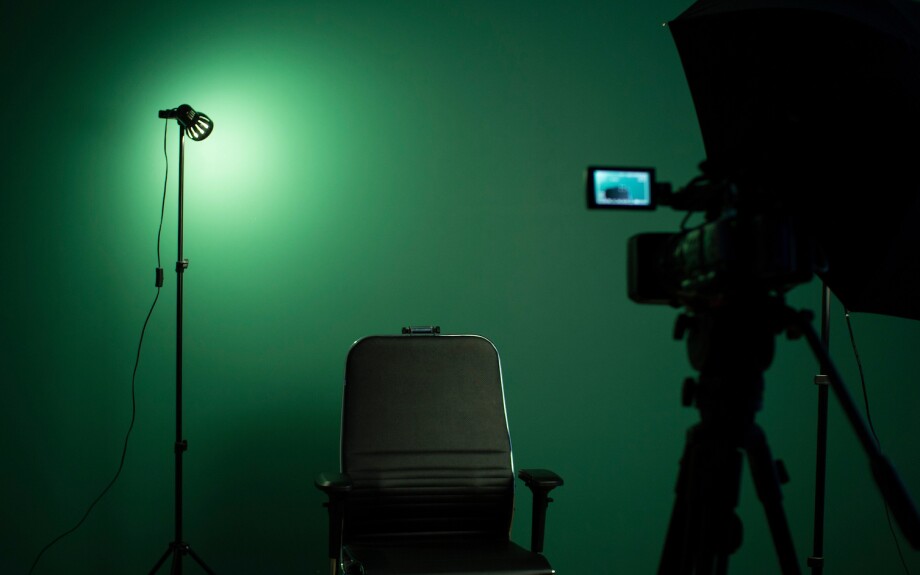
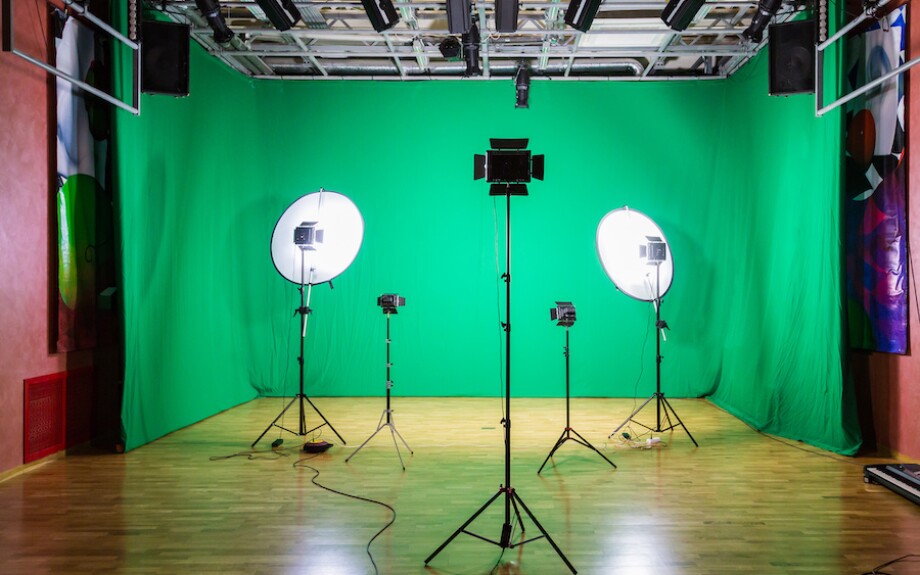
Make sure you have enough lighting for your subject. Your subject should be placed roughly three feet in front of the key lights, with the lights out of frame. When possible, use three-point lighting to light your subject, placing (1) a third key light on one side of the subject, 4–5 feet behind them, to cast a soft light on the subject, (2) a dimmer fill light on the other side of the subject, 4–5 feet behind them, to fill in any shadows, and (3) a hair-light above and behind the subject. The hair light is typically placed on a tall light stand behind the screen or mounted from the ceiling above, and like the other two lights it is pointed at the subject from behind, lighting the back top of their head (Bedard, 2023). If you don’t have access to multiple subject lights, you can achieve a similar effect with either a ring light or a soft floodlight on the subject.
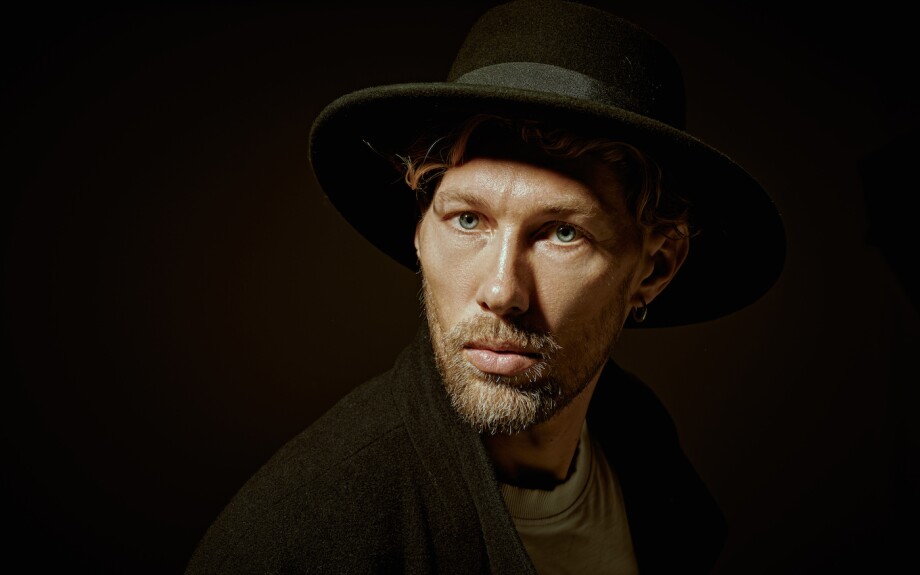
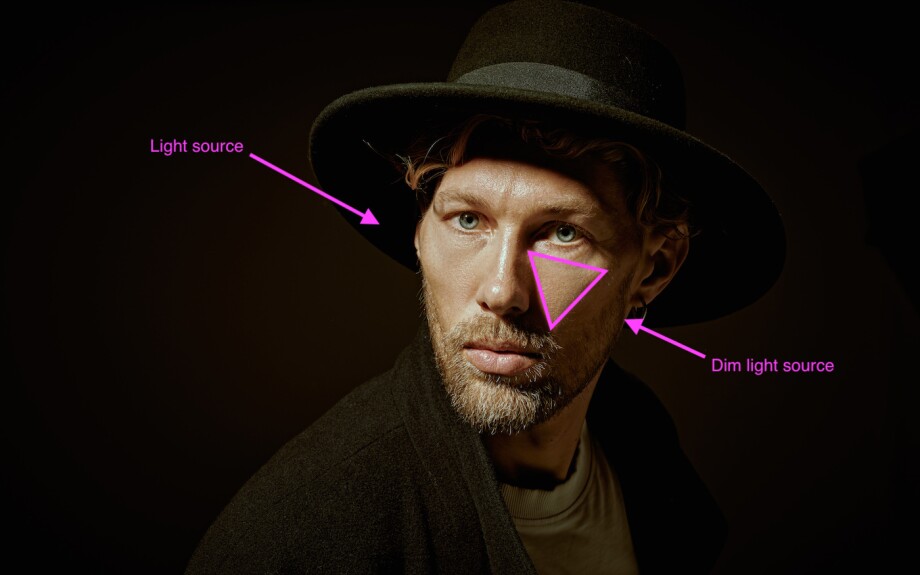
If you have the resources and studio space, consider a cinematic approach. One of the more cinematic approaches to lighting an interview subject is called the "Rembrandt" approach. “This technique can be achieved using either one light and a reflector, or two lights, and is popular because it is capable of producing images that appear both natural and compelling with a minimum of equipment, while achieving a gritty and dramatic look.” To achieve this look, position your light about 60 degrees to either side of your subject’s face and slightly above them, then tilt the light down until you see an upside-down triangle of light on the subject’s face. Use a bounce card (such as a reflective poster board) to fill in the shadows to vary how dramatic the lighting looks (Documentary Film Academy, n.d.).
Rembrandt Style
If at first you don’t succeed, try again! Like any type of video production, setting up a studio for green screen requires practice. Take the time to experiment with set-up, lighting, and subject placement to achieve the best possible results.
References
Bedard, M. (2023, January 8). Green screen lighting: How to ensure your backgrounds pop. Studiobinder.
Documentary Film Academy. (n.d.) 7 steps to shooting cinematic interviews.